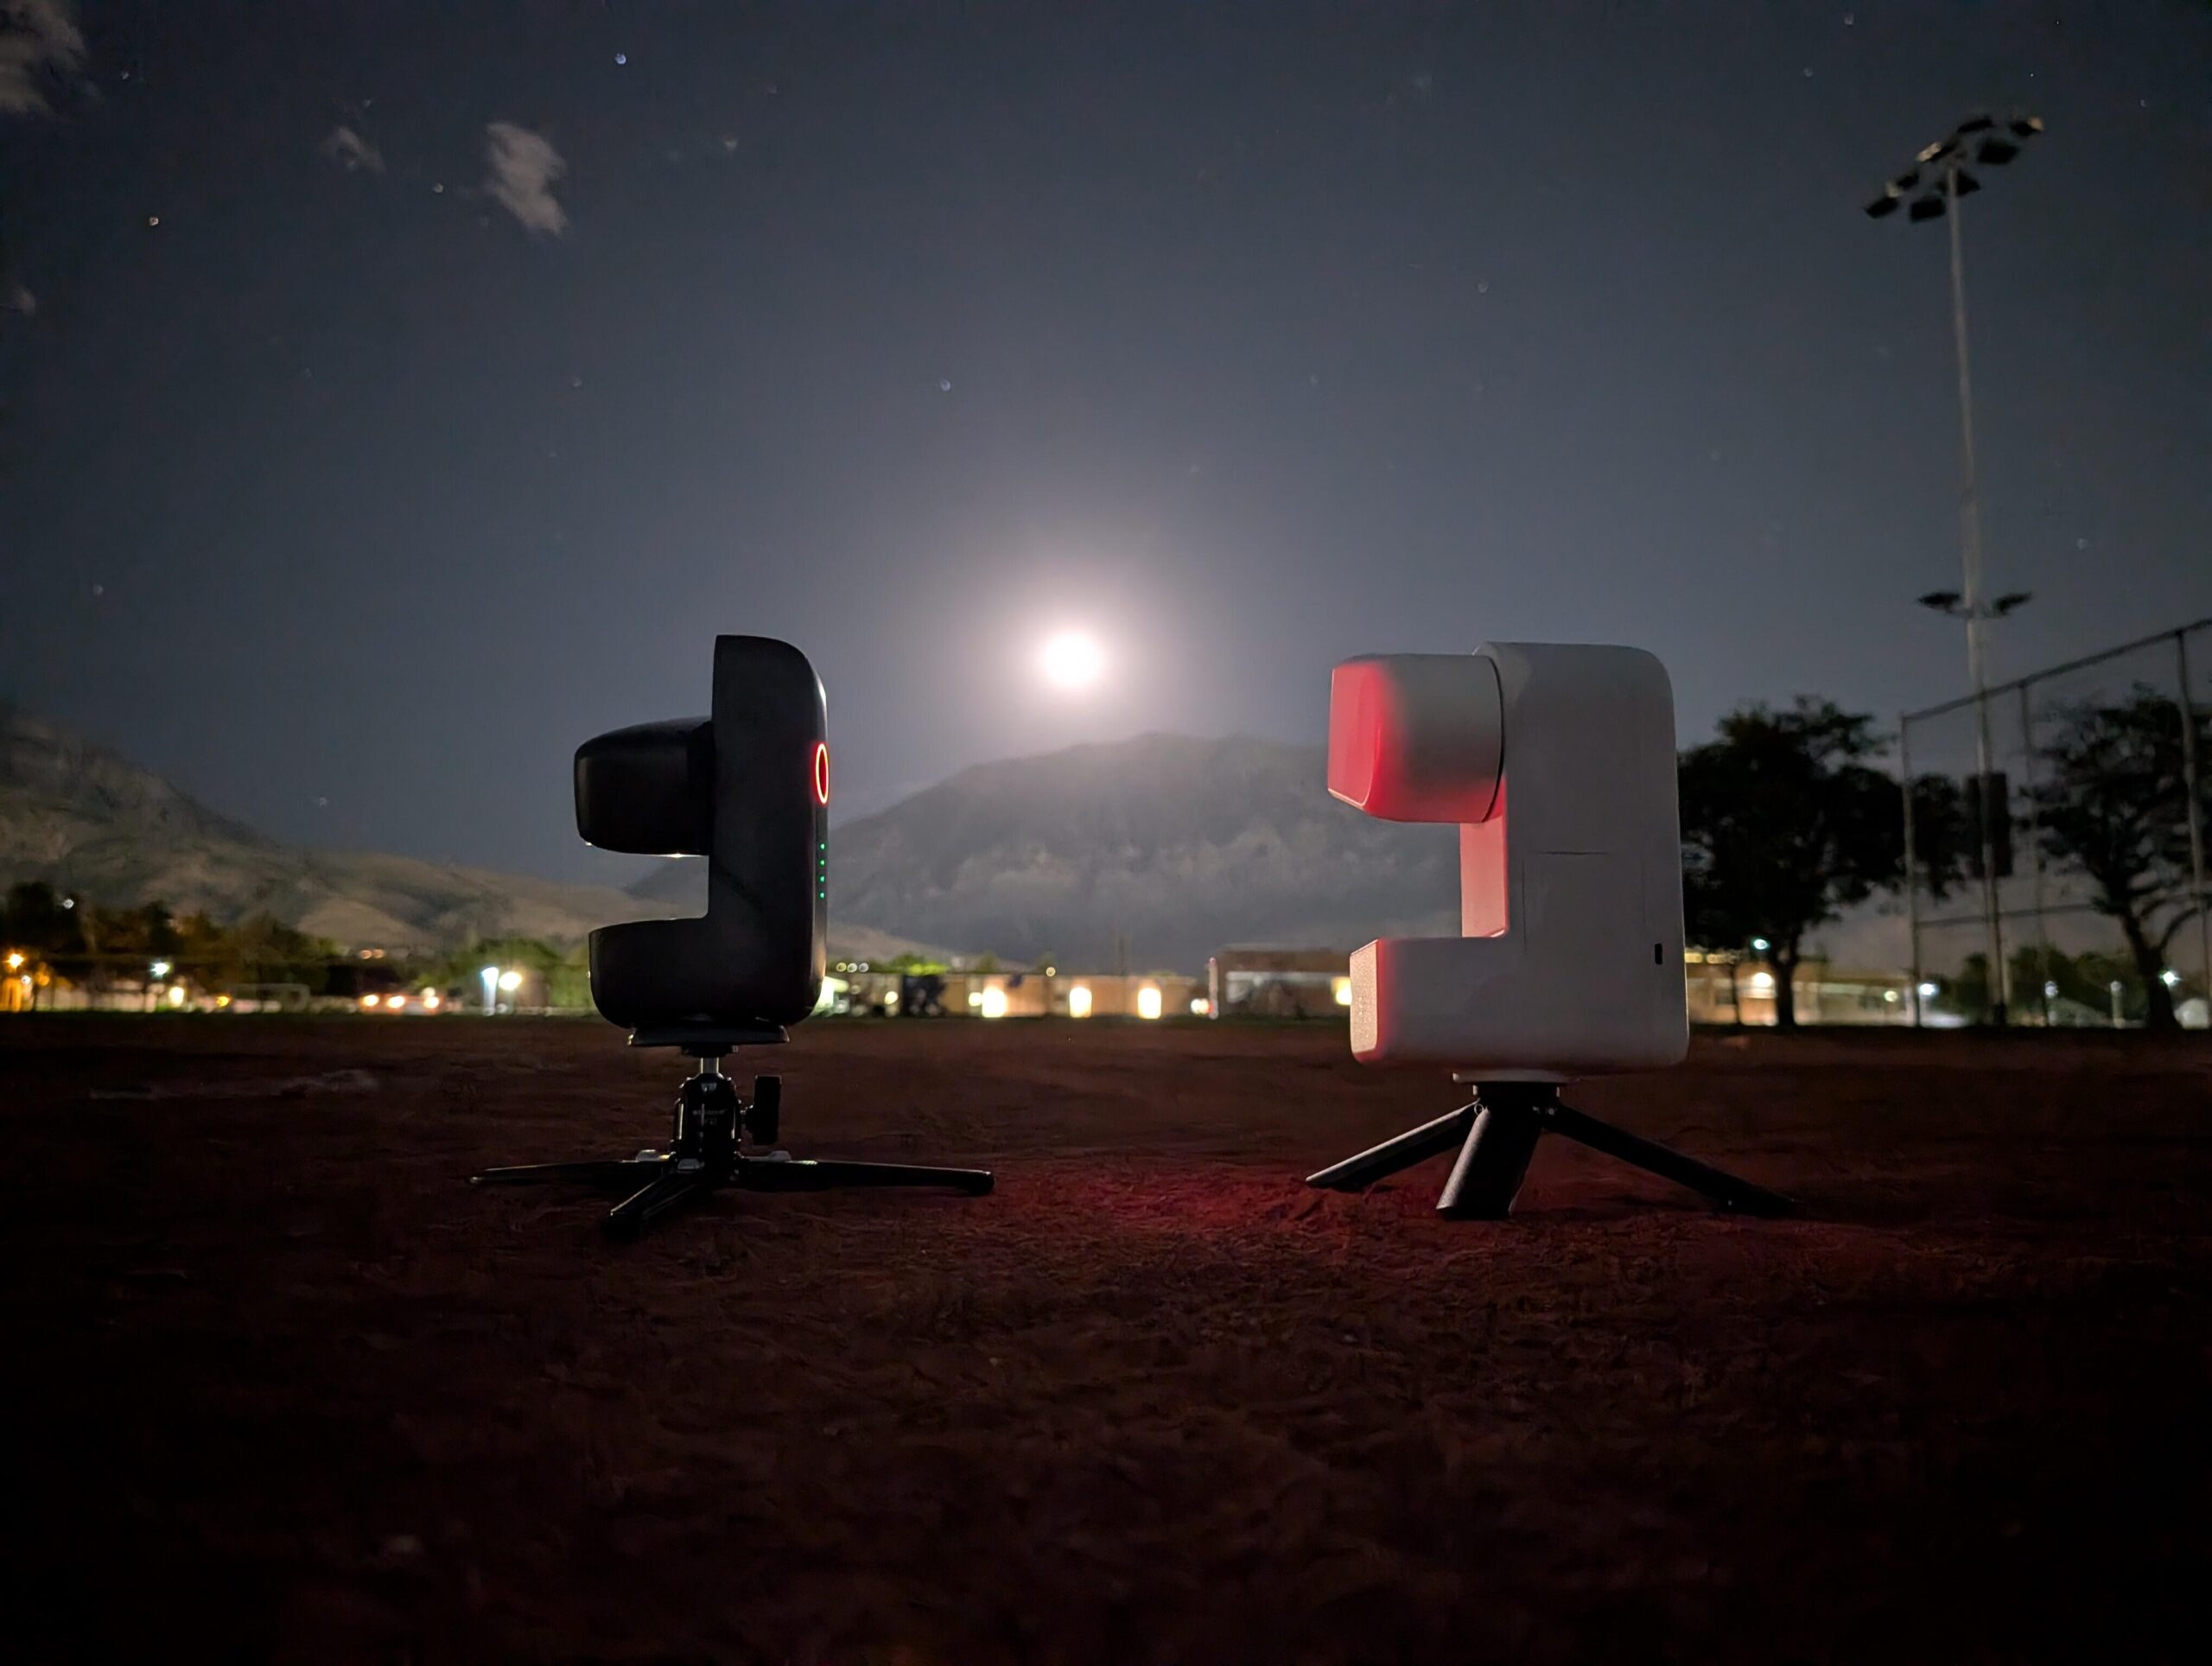

Portable, budget-friendly astro-photography has never been easier.
John Carlsen/CNET
When it comes to taking photos, few specialties require more patience than astrophotography and wildlife photography. You’ll also need relatively expensive equipment if you want usable images. But in recent years, a new generation of compact smart telescopes has begun lowering the barrier to entry for these hobbies. I previously tested the $549 DwarfLab Dwarf 3, and thought it was a promising option for beginners, but I wanted to see how more affordable smart telescopes perform.
So I decided to put two $399 smart telescopes to the test: the new Dwarf Mini ($399) and the ZWO Seestar S30 ($399). While I considered making this article a simple head-to-head comparison, I’m also treating it as a crash course in using smart telescopes to take great photos. Here’s everything I’ve learned.
Why budget telescopes have so many advantages

Smart telescopes, like the Seestar S30, help smooth out a lot of the speed bumps that might prevent someone from getting into astrophotography.
John Carlsen/CNET
There are many reasons to choose an affordable smart telescope for your first foray into astrophotography, especially at such low prices compared to expensive brands like Unistellar and Vaonis, which cost over $1,500. Portability is my biggest reason for starting with a budget smart telescope. That means a lot when you often need to hike to a place with abundant wildlife and low light pollution.
Carrying bulky telescopes is a great way to deter beginners from using their fancy gear, especially if you’re also carrying camping gear. To give you an idea of the weight savings, the Dwarf Mini weighs a measly 840 grams while the Seestar S30 clocks in at 1.65 kilograms, but every single Vaonis and Unistellar telescope is over 4 kilograms.

The main benefit of a smart telescope like the Dwarf Mini is not having to carry a separate telescope and camera.
John Carlsen/CNET
The weight savings come with a trade-off of lower resolution, a smaller aperture and a shorter focal length. Your images may not look as good and could take longer to capture, but budget models will help you decide if you want more expensive gear down the line. The Seestar and DwarfLab telescopes each provide a suite of built-in filters and come with magnetic solar filters.
Lastly, pricier smart telescopes from Vaonis and Unistellar focus exclusively on astronomy, with none of the product marketing mentioning using the telescopes for other tasks. In contrast, the sub-$1,000 brands all include wide and telephoto cameras, making them more flexible for wildlife and landscape photography. If you catch the bug for astrophotography, then a premium brand makes more sense, but at that price, you can also consider pairing a high-end camera with a telescope instead.
Dwarf Mini vs. Seestar S30: Specs

The Seestar S30 includes helpful accessories in the box, so you don’t need to spend extra on them.
John Carlsen/CNET
Let’s run through the the Dwarf Mini and the ZWO Seestar S30 specs to see how they compare.
|
Dwarf Mini |
Seestar S30 |
|
|
Price |
$399 |
$399 |
|
Weight |
840 g |
1,650 g |
|
Estimated battery life (capacity) |
4 hours (7,000 mAh) |
6 hours (6,000 mAh) |
|
Internal storage |
64GB |
64GB |
|
Telephoto resolution |
1,920×1,080 |
1,080×1,920 |
|
Focal length |
150 mm |
150 mm |
|
Aperture |
30 mm |
30 mm |
|
Tracking modes |
Altitude/azimuth, equatorial |
Altitude/azimuth, equatorial, smart tracking |
|
Magnetic solar filter |
Included |
Included |
|
Tripod |
$89 add-on |
Included |
|
Carrying case |
$39 add-on |
Included |
As you can see, it’s a fairly even matchup in terms of resolution, focal length and aperture. A major reason for these similarities is that both telescopes use the same Sony IMX662 sensor for telephoto images. The only notable difference is that the Seestar S30 uses portrait orientation for its telephoto images, rather than the landscape mode used by its wide-angle lens and the Dwarf Mini. While this affects image composition, it didn’t affect the results.
However, there are a few crucial differences between these models. The Dwarf Mini’s biggest advantages are its light weight and small size. It weighs roughly half as much as the Seestar S30, and that’s enough to offset most of the things that the Seestar does better. And while the Dwarf Mini’s rated battery life is technically shorter, it consistently lasted longer in the field across multiple tests.

The Dwarf Mini comes with fewer accessories, but is much lighter.
John Carlsen/CNET
The Seestar gains the upper hand in terms of accessories and tracking. For accessories, the inclusion of a carrying case and simple tripod are hard to beat for out-of-the-box portability, even with the extra weight. In Dwarf’s case, you need to buy these accessories separately.
I’ll point out that the Dwarf’s fluid head tripod add-on is mostly necessary for running equatorial tracking because you’ll need to angle the telescope to align with the Earth’s equator (and thus rotation). It’s $100 cheaper than a similar option that ZWO also sells separately. The Seestar’s included tripod offers increased stability and helps the camera move more easily, but the Dwarf’s base makes a tripod optional, although still a good idea. I actually had a spare camera case and tripod lying around to use with the Dwarf Mini, but you can easily find affordable third-party accessories.
Setup and controls

Plan ahead so you have a way to recharge your smart telescope in the field.
John Carlsen/CNET
The Seestar’s other advantage is probably the most significant: smart tracking. Although both telescopes support altitude/azimuth and equatorial modes for celestial objects, only the Seestar S30 can track moving objects, such as animals and people, for daytime photos and videos. To get the same feature with DwarfLab, you’d need to upgrade to the $550 Dwarf 3.
It’s not all bad news, because I generally prefer the Dwarf Mini’s double-tap navigation system for homing in on subjects with the wide-angle lens. Meanwhile, the Seestar uses double-tap to focus the camera (something the Dwarf does only with the telephoto lens), electing for a slightly slower “tap and confirm” method instead.

These telescopes use apps for controls and photo adjustments.
John Carlsen/CNET
Each smart telescope connects to its mobile app via a direct Wi-Fi network, which works best if you disconnect your phone from Wi-Fi internet connections first. This is because your phone will prioritize internet access over connectivity and switch back to the original network. (I learned this frustrating lesson in my Dwarf 3 tests.) The Dwarf Mini can connect using NFC by tapping your phone against the telescope after it’s on and is generally faster to get up and running because you can manually open the arm to point the lens in the general direction of your subject.
During the first part of my tests, the Seestar took longer to set up because I had to manually select the Wi-Fi network each time, but this delay went away with a firmware update. One thing you can’t change is the fact that you must open the arm using the app, which takes about 15 to 20 seconds. Positioning a camera for wildlife photography often relies on speed, so the Dwarf’s a little better here, even if it lacks the smart tracking feature. Fortunately, the virtual joystick controls in both apps work well for manually following wildlife.
Shooting modes, post-processing tools and how to use them

Tracking is essential for getting good photos of any celestial object.
John Carlsen/CNET
I’ve grouped the shooting modes and image tools from each smart telescope in a table below.
|
Dwarf Mini |
Seestar S30 |
|
|
Shooting modes |
General, Deep Sky, Solar System, Milky Way, Star Trails |
Scenery, Stargazing, Solar System |
|
Photo |
All modes |
All modes |
|
Burst |
General mode only |
None |
|
Video |
General mode only |
Scenery mode only |
|
Timelapse |
General, Milky Way |
Scenery mode only |
|
Mosaic |
Via Atlas (EQ mode only) |
Via Atlas (Alt/Az, EQ modes) |
|
AI post-processing tool |
Auto, star reduction, spikes, star removal, star only, denoise |
Star reduction, brightness, contrast, saturation, denoise |
|
Stacking tool |
Mega Stack |
Deep Sky Stack |
A quick glance shows that the Dwarf and Seestar share three main shooting modes:
-
General usage (General/Scenery): You’ll use this mode during the day and night. It’s capable of photo, video and time-lapse recording. It disables the astrophotography filters and is more suitable for photographing wildlife and other things during the day. Notably, the Dwarf Mini’s settings are a bit more adjustable than the Seestar’s in this and other modes. The Dwarf Mini also supports burst mode for rapidly capturing photos of moving subjects, such as birds.
-
General astronomy usage (Deep Sky/Stargazing): This is similar to the general usage mode, but exclusive to astrophotography, so you can only take photos. I recommend using the automatic shooting parameters for beginners — I’m still very much a beginner myself — but you can adjust the brightness, saturation, contrast and exposure times once you get more comfortable with your smart telescope. Generally, you’ll pair this with the sky atlas to find things to look at and image.
-
Solar System: Think of this like the other astronomy mode, but limited to the sun, moon and planets. While both telescopes are great for looking at the sun and moon, they’re not powerful enough to show much detail on the planets. At best, you’ll see some coloration, Jupiter’s moons, a fuzzy outline of Saturn’s rings and a glimpse of the phases of Venus. It’s a fun time, but you’ll need a stronger telescope for planetary photography, since even models such as the Unistellar and Vaonis won’t be crystal clear.
The Dwarf Mini also has two modes that use its wide lens: Milky Way and Star Trails. For the Milky Way mode, the telescope tracks the Milky Way across the sky so you can get an image of the wider galaxy. Star Trails tells the telescope to lock onto a single point in the sky without accounting for the Earth’s rotation, with the effect being long arcs of light across the sky. I didn’t test either mode for lack of time, but they’re a nice inclusion.
Beyond the shooting modes, you’ll find an option to create a mosaic, which stitches together photos across a larger frame than the sensor normally can. You can adjust mosaic settings in the Atlas section of the apps, with the Seestar offering a more versatile mosaic mode that works with both Altitude-Azimuth and Equatorial tracking. Dwarf needs EQ tracking to pull off the same feat and generally seems to have a smaller frame size. This is another mode I couldn’t test for lack of time. Mosaics take forever.

It’s a good idea to set up a plan or schedule in the app if you plan to capture something while you’re asleep. It also saves some stress of getting your telescope running in the middle of the night.
John Carlsen/CNET
Lastly, each telescope’s app comes with tools for post-processing the images because a huge part of astrophotography is cleaning up noise and making small adjustments to get the photo looking as good as possible. Each app’s AI post-processing tools are good. The Seestar’s are a little more adjustable, while the Dwarf largely automates the process and gives a few more options for stylizing things like star spikes (a distinctive feature of James Webb Space Telescope images). I like the results from the Seestar slightly better because I can adjust the contrast without a third-party photo editing app.
Because it’s impractical to take a single massive exposure, astrophotography relies on stacking many images with shorter exposures. The advantage is that you can eliminate bad exposures, like those with satellites and aircraft passing through. Both telescopes automatically stack images, but you can restack them yourself in the app or combine stacks from multiple nights of observation. (Just make sure that the Seestar saves individual frames in its settings if you want to do this — the Dwarf does it by default.)
Dwarf Mini vs. Seestar S30: Let’s take some photos

I set out to capture various images in different conditions over the course of two weeks.
John Carlsen/CNET
Now that you have a basic rundown of what features to expect from budget smart telescopes, let’s see how they perform in the field. I chose six subjects: the sun, the moon, a star, a galaxy, a landscape and whatever wildlife I could find. I captured the star and galaxy images at around 8,500-foot elevation in the mountains, away from the city. I was there because I wanted to reduce light pollution and improve image quality (and because it was a good time to go camping).
Sun

Remember to put the filter on before pointing it directly at the sun so you don’t fry your sensor.
John Carlsen/CNET
Thanks to the included solar filters, both cameras are more than capable of getting great pictures of the sun. You can photograph the sun anytime it’s up, though it’s a good idea to be mindful of clouds. It’s high in the sky, so you likely won’t have to deal with obstacles. The tracking on both telescopes seemed good, but the Seestar consistently failed to find the sun automatically. I finally had to put the sun in the center of the frame and activate the tracking manually. TheDwarf Mini locked on within 30 seconds and generally produced a sharper image because it had the option to stack multiple frames. While the Seestar’s was good, it wasn’t as clean.
Winner: DwarfLab Mini
Moon

The tracking modes worked well for the moon, though it helps to put it in the center of the frame to get a good lock.
John Carlsen/CNET
The moon is bright enough that you can capture good images from anywhere, regardless of light pollution — just keep an eye on cloud cover. Still, I found a quiet baseball diamond in a park near me with a good view of the moonrise and lower light pollution. Once again, the Dwarf Mini excelled with its shots of the moon. I particularly enjoyed how easy it was to adjust settings on the fly, and it does a good job with AI post-processing if you choose the option. The Seestar got some great photos too, but I liked the Dwarf Mini just a bit more.
Winner: DwarfLab Mini
Arcturus (star)

I had some issues with cloud cover that delayed my ability to get shots of the Pinwheel Galaxy, so I focused on Arcturus, one of the brightest stars in the night sky.
John Carlsen/CNET
This was a roughly 7-minute exposure, which resulted in a nice warm glow. While the Dwarf Mini did very well, its post-processing put star spikes on all the other large stars but Arcturus and lacked enough contrast to suit my tastes. The Seestar S30 easily pulled ahead with an image that looks truly exceptional.
Winner: Seestar S30
Pinwheel Galaxy

DwarfLab’s post-processing doesn’t offer much in the way of contrast adjustment compared to the Seestar.
John Carlsen/CNET
I chose the Pinwheel Galaxy (M101) because it’s high in the sky, near the handle of the Big Dipper. This means I can get a long exposure without fear of it dipping below the horizon too early. Once the clouds moved on, I set my target and left both telescopes running before heading to bed. (Despite being the height of summer, it was a very cold night in the mountains and my seasonal allergies were acting up.) I collected both smart telescopes when I awoke, which had closed their arms to protect against moisture after shutting down.
The Seestar S30 hit a total exposure time of 1 hour and 47 minutes, while the Dwarf Mini shut down after roughly 2 hours and 14 minutes. Both images had a fair amount of noise before processing, but cleaned up nicely. I prefer the result from the Seestar S30 a little more, with my main complaint with the Dwarf Mini being its contrast. Still, that’s something I can easily adjust in most photo apps, so I think this is an even matchup.
Winner: Tie
Landscape timelapse

Dwarf Mini distorted the image more than I prefer, while the Seestar’s wide lens has a narrower field of view.
John Carlsen/CNET
I enjoy a good timelapse, so I targeted roughly the same area with each telescope and let them run for an hour to capture some nice movement of fluffy clouds. If you’re planning to run a timelapse, I recommend adjusting details like the white balance, saturation and contrast to get a good baseline before starting. It will produce better results overall.
The Seestar S30’s wide lens doesn’t capture as much as the Dwarf Mini, but it produced better results with more natural white balance and a clearer image. Unfortunately, the Dwarf Mini amped up the warm tones, and it looked as though heavy AI sharpening took place, which often makes an image look like an oil painting. While stylistically interesting, it’s not ideal for making a video seem more real.
Winner: Seestar S30
Wildlife (photo and video)

I got some nice photos and videos of the pelicans between gusts on a windy day.
John Carlsen/CNET
I wrapped up my tests with some wildlife photography. Since none of the animals I saw while camping sat still long enough for good photos, I took the smart telescopes to a local beach on the lakefront. The good news is that there were plenty of pelicans to take pictures of. The bad news is that it was a windy day, so capturing great video footage was going to be difficult. Even with a really beefy tripod, which I didn’t have with me, it’s almost impossible to reduce camera shake on all of the smart telescopes I’ve used.
The Dwarf Mini and Seestar S30 both rose to the challenge, and I’m happy with what I was able to record. That said, the Seestar’s smart tracking is great for following pelicans across rough waters. I’m sure I could’ve gotten better results with less wind, but it’s a good example of how you sometimes need to make the most of the weather.
Winner: Tie
Dwarf Mini vs. Seestar S30: Which is the better smart telescope for $399?

Each budget smart telescope plays to different strengths.
John Carlsen/CNET
As I see it, there’s no clear winner between the Dwarf Mini and Seestar S30 because each has unique strengths that cater to different types of photographers. For example, the Dwarf Mini is portable and holds its own in terms of wildlife photos and astrophotography, even if it includes fewer accessories and doesn’t quite meet my timelapse expectations. I love how fast it is to set up. It’s a solid grab-and-go smart telescope.
The Seestar S30 stands on even ground in terms of images, although the Dwarf handles the sun and moon better. But it’s hard to deny that the Seestar comes with more gear, and it won’t leave you scrambling for a bag and a tripod when it’s time to head out. It’s better for tracking non-astronomical subjects during the day, and I prefer its approach to post-processing. However, it’s bulkier than the Dwarf Mini, so that can put a damper on packing for a trip. It’s probably the better option for beginner astrophotography enthusiasts.
Ultimately, either smart telescope is a great introduction to a fascinating hobby. I hope I provided enough of a foundation for what to expect if you decide you’re up for the adventure.
